 |
The baseplate was made by cutting a piece slightly bigger than the 6" by 6" finished size to allow for machining. Then, the four edges were milled in a Sherline milling machine, using an end mill. A central slot of .500" by .135" deep was milled for the Miter. The next step was to put the four holes in the baseplate that are drilled and tapped for the 10-24 by 5/8" Button Head Socket Cap Screws that secure the End Plates to each side of the Baseplate. (See the drawing for the locations.)
The T-Bar was then machined to shape and size, also on the Sherline milling machine.
The holes for the Bearings ( Ball Bushings) were then bored to size and locations.
Next came the End Plates. They were clamped together so they would be paired, and easier to machine. The adjusting slots were milled in after they were separated due to the ratio of the slot size to the thickness of the End Plates. ( Too easy for the slot to wander otherwise)
Guide Rods were cut to length.
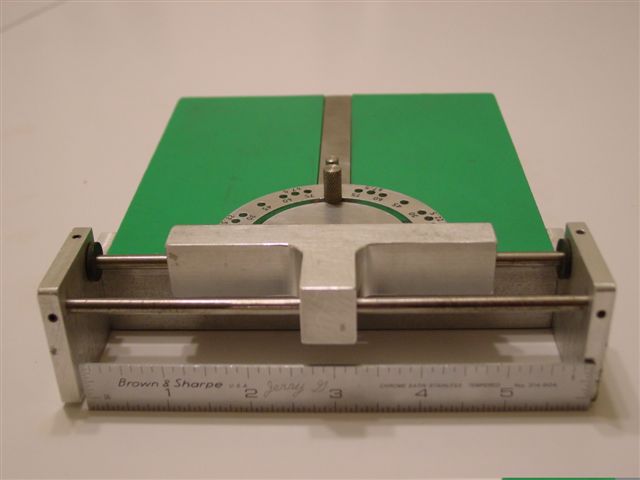
So, we now have the Baseplate, T-Bar, End Plates, Guide Rods, Screws, Bearings, Bumpers, Wear Strips, Bottom Pad ready for assembly.
All were made according to the drawings (which will be supplied) and/or purchased (in the case of the commercial items).
(more->Click
Next below)
|